Preparation
Planks required to complete your install.
Measure the length and width of your room/s. If the room has alcoves or offsets, measure these separately. This will give you a m2 of the room. It is recommended to purchase a minimum of 10% extra to cover trimming, wastage, mistakes and some extra flooring for possible future needs and replacements.
For best results it is important to purchase flooring from the same batch number. Different batch numbers can have slightly different shade variations. It is recommended that you install planks from 4 or 5 different boxes at one time to ensure that you get a random mix of patterns and shades. This will ensure a more natural looking floor.
Caution: Do not install SPC Vinyl Planks over carpet. This type of flooring is not suitable for outside use, solariums, saunas, or rooms which have the potential for substantial flooding.
Acclimatisation
It is recommended to sit the boxed flooring in the installation area for 48 hrs prior to installation to allow it to acclimatise to the installation environment.
Subfloor Preparation
All subfloors must be clean, flat, dry and structurally sound. Preparation of the subfloor is a major part of a successful installation. Unevenness of the subfloor will cause flexing in your flooring and lead to the joins eventually failing.
Carpet staples or flooring adhesive residue must be removed to ensure proper installation.
Any unevenness of greater than 4mm must be sanded down or filled with a levelling compound. Dips and humps in the subfloor will prevent the locking system from locking properly.
Wood Subfloors
All wood or wood composite panels are suitable for use as subflooring for SPC Vinyl Planks, providing they are smooth, flat, structurally sound and free of deflection and movement. These panels include plywood, particle board and masonite.
Concrete Subfloors
A concrete subfloor must be dry, smooth, free from dust, solvents, paint, wax, grease and oil. The surface must be hard and dense and free from powder or flaking.
New concrete slabs must be thoroughly dry and completely cured. Although SPC Vinyl Planks are not susceptible to damage from moisture, excessive subfloor moisture will create mould, mildew, or fungi under the flooring.
Holes, grooves, expansion joints, or any depressions in the subfloor need to be filled with levelling compound and feathered evenly with the surrounding surface.
Concrete floors within infloor radiant heating systems are allowed, providing the temperature of the floor never exceeds 29 Celsius. (it is always advisable to confirm with your flooring manufacturer).
Installing Over Existing Floor Coverings
SPC Vinyl Planks can be installed over most existing hard floor coverings, providing the existing floor surface is smooth, or can be made smooth.
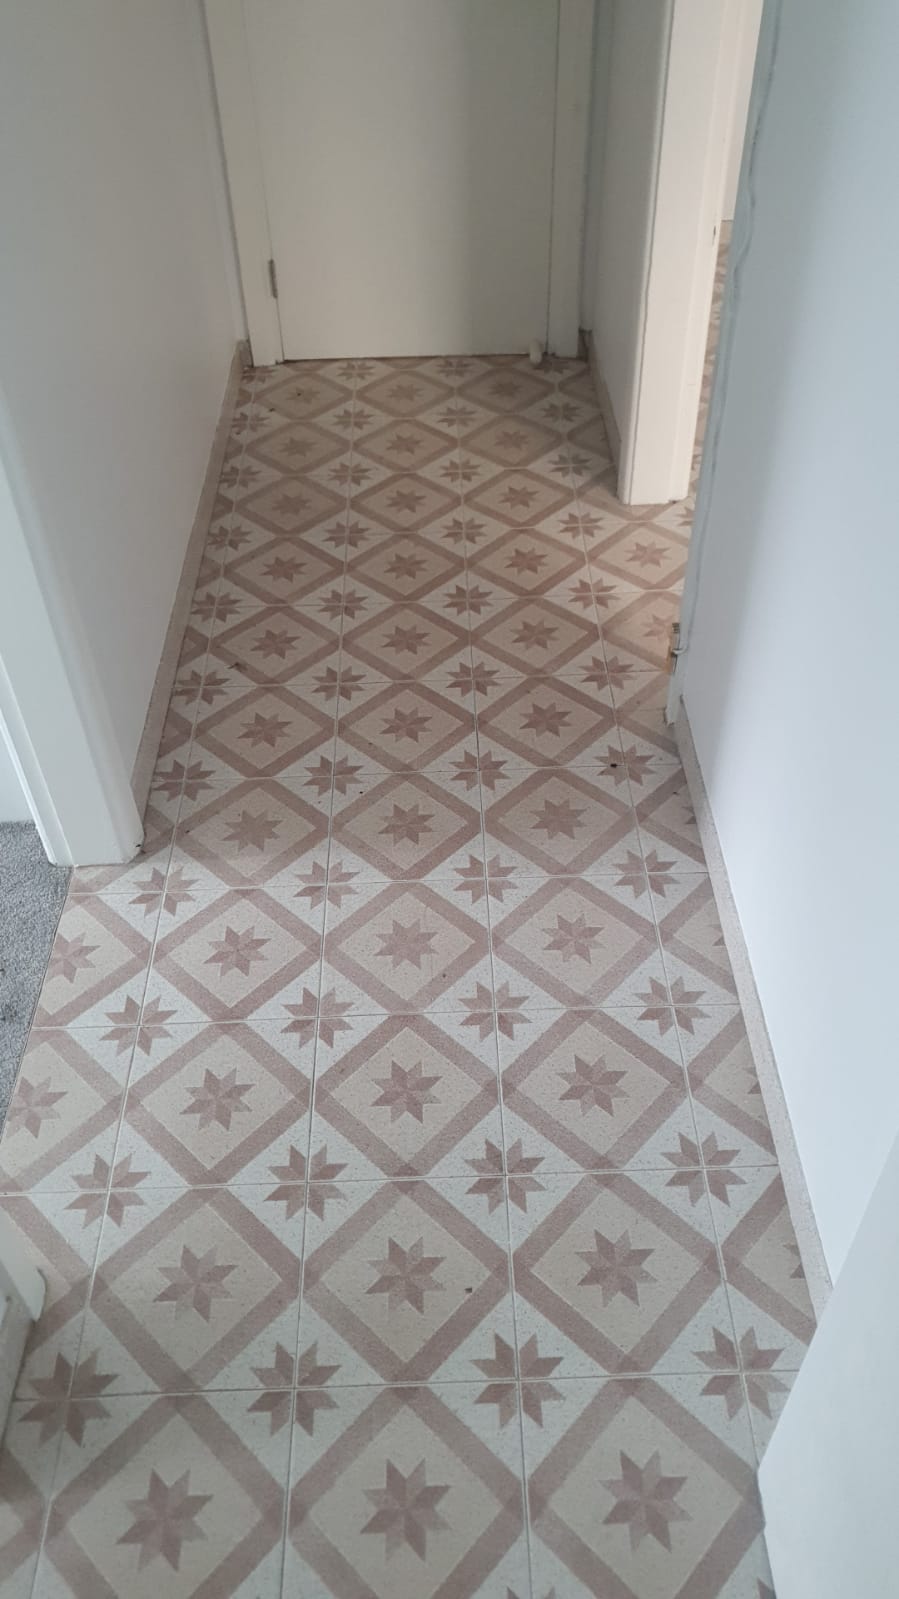
Uneven Ceramic Tiles should be made smooth with the application of a levelling compound. When the removal of an existing floor covering is not an option, it should be covered with a levelling compound to provide a smooth subfloor surface. Any unevenness is likely to result in flooring failure.
Existing Sheet Vinyl should not be heavily cushioned and must consist of only one layer.
Never use solvents or adhesive removers to remove old adhesive residue. Solvent residue left on the subfloor may affect your new flooring.
Installation
Tools required.
Straight edge. Pencil. Chalk line. Measuring tape. Power crosscut saw (fine tooth blade). Jigsaw (for cutting irregular shapes), Rubber Mallet. Tapping Block. Pull Bar. Painters Tape. Assorted Spaces.
Note.
Before laying out the floor, check the wall you are starting from and make sure it is square to the opposite wall. Simply measure the room from opposite ends of the wall to the far wall. If the measurements are different, you can adjust on the first row, by scribing the plank. SPC Vinyl Plank is designed to be installed with a floating flooring method. Never secure the planks to the subfloor. Always undercut all door jams. Never fasten mouldings or transition strips to the planks.
Flooring Care Guide
For any enquiries on our flooring products or services, please fill in the contact form or call us directly. One of our helpful, friendly team will be happy to assist you.